Home
Menu
Book a Table
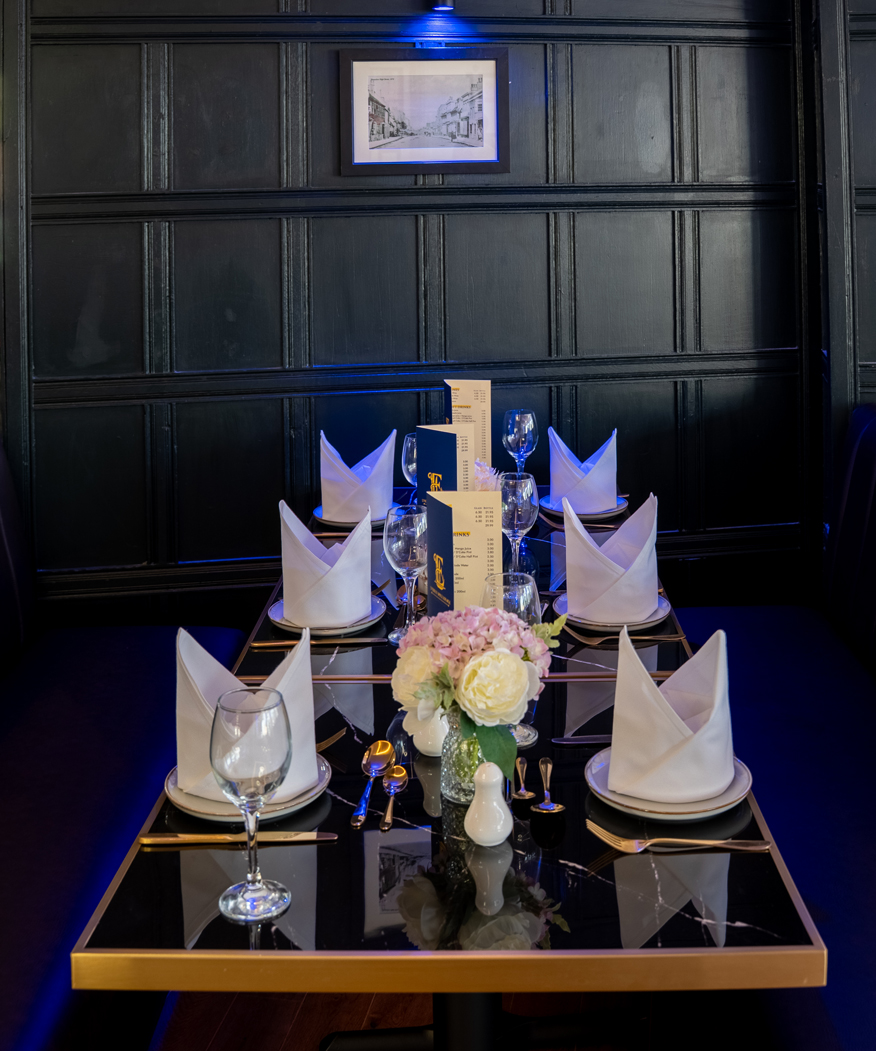
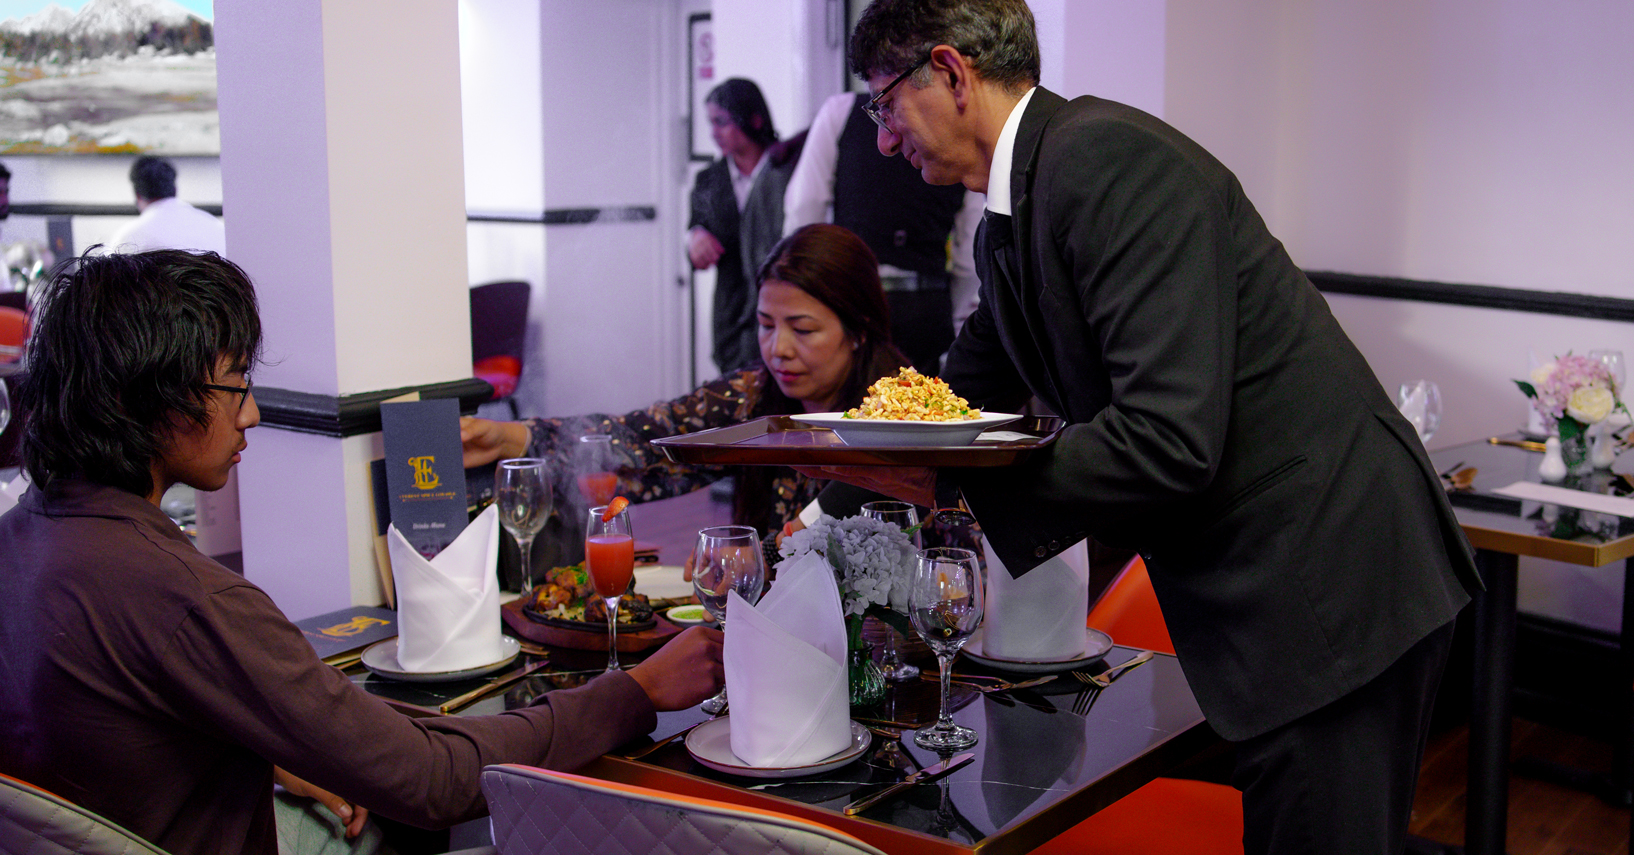
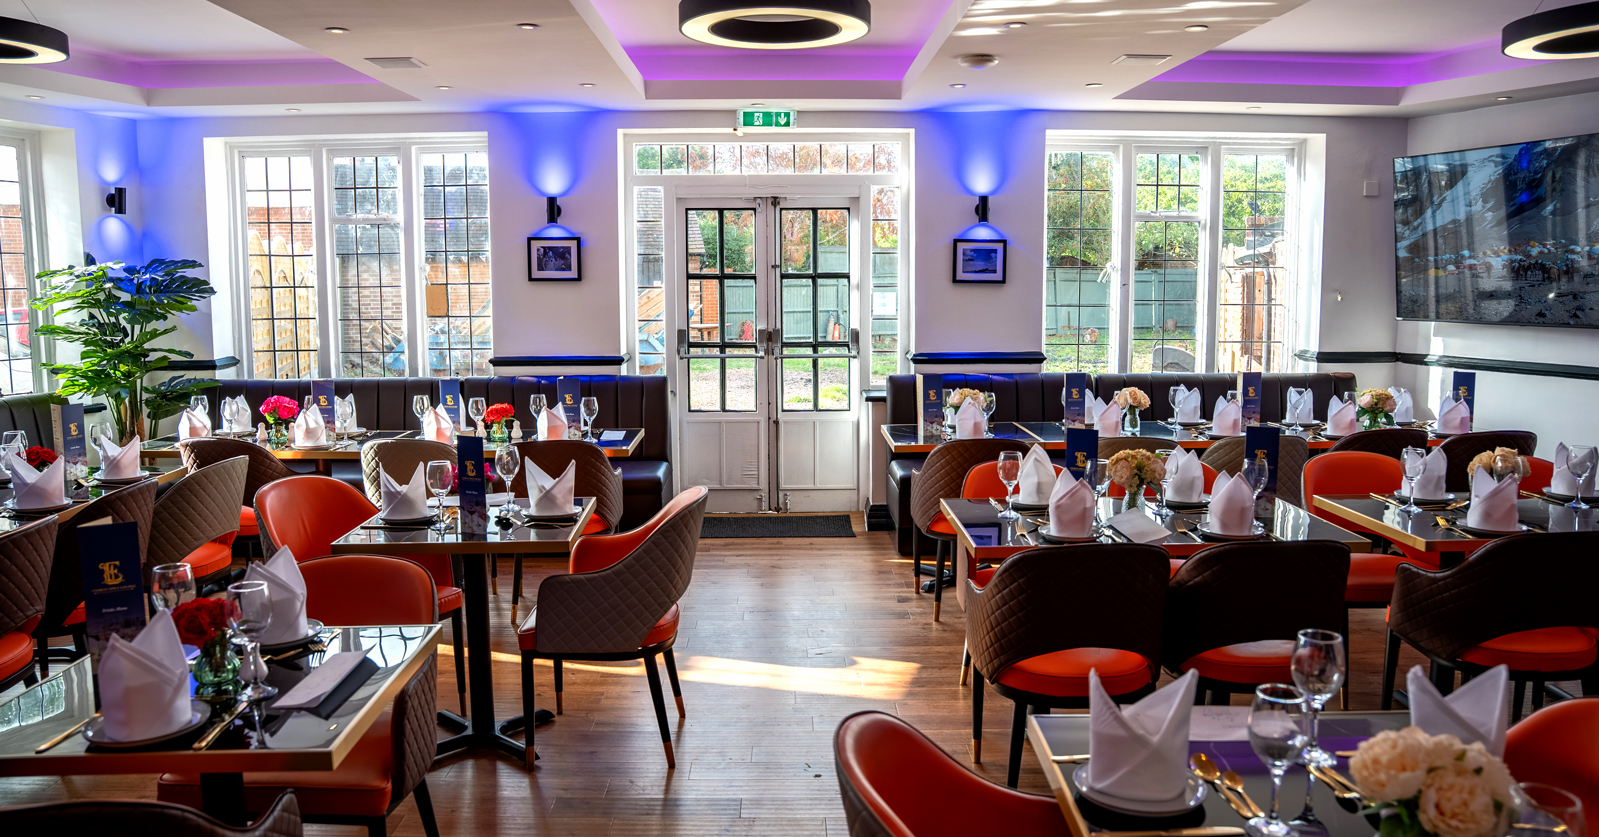
Gallery
Contact
About Us
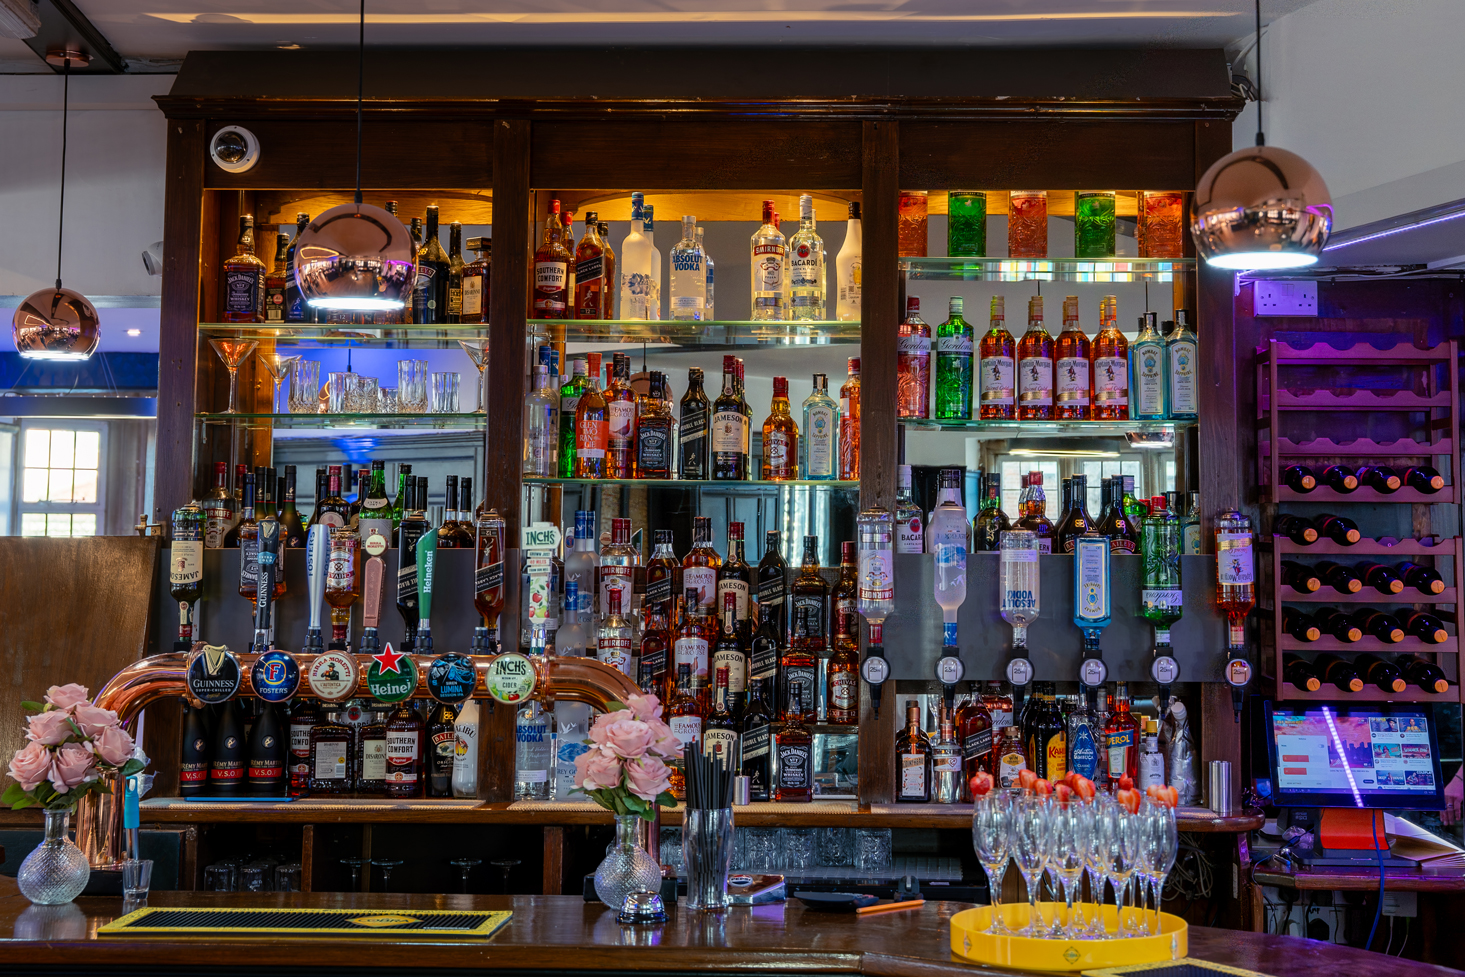
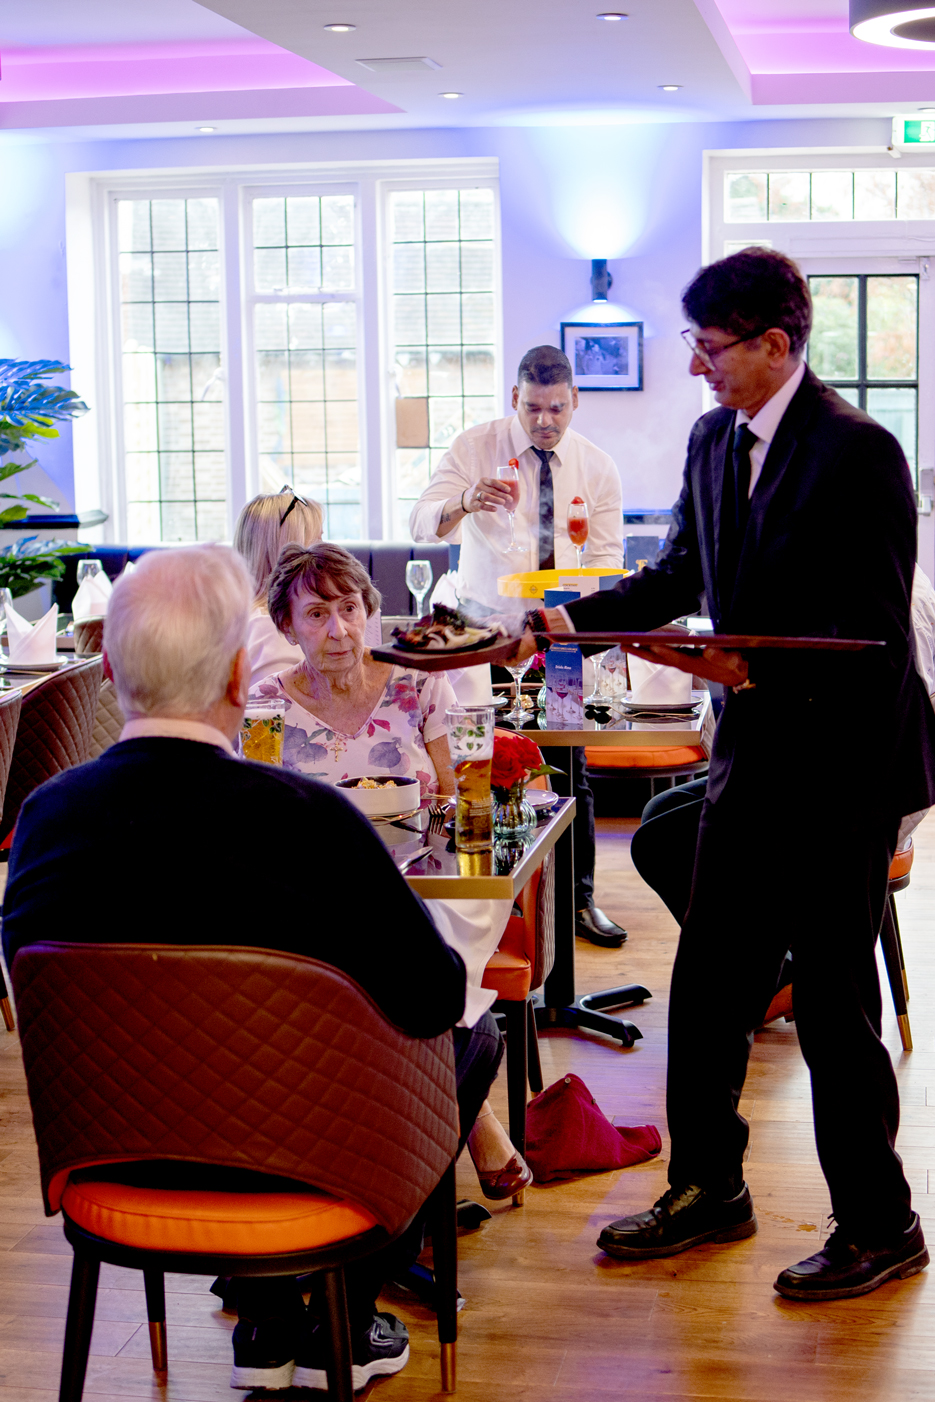
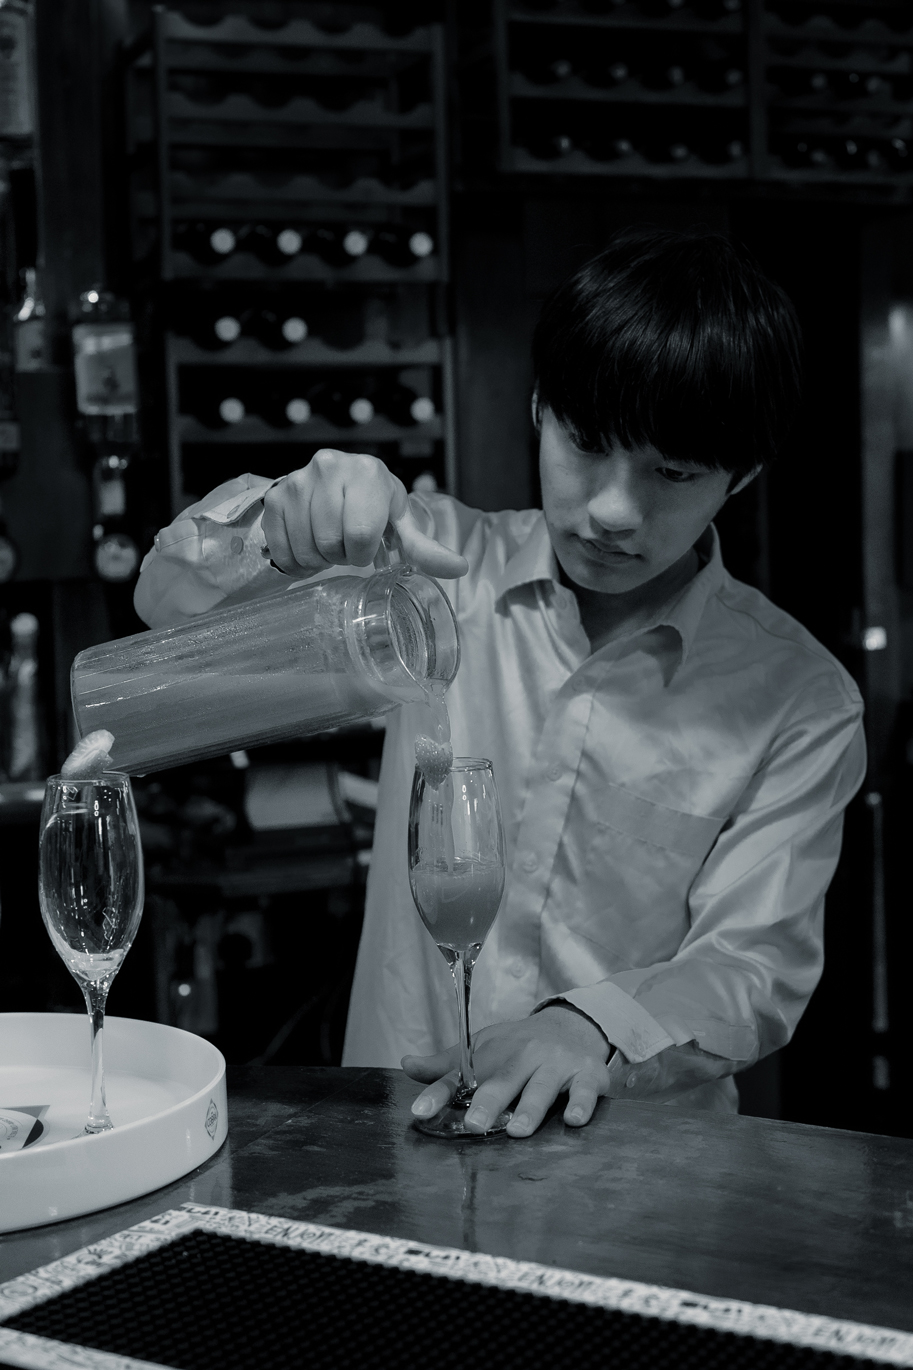
Gallery
Book a Table
Gallery
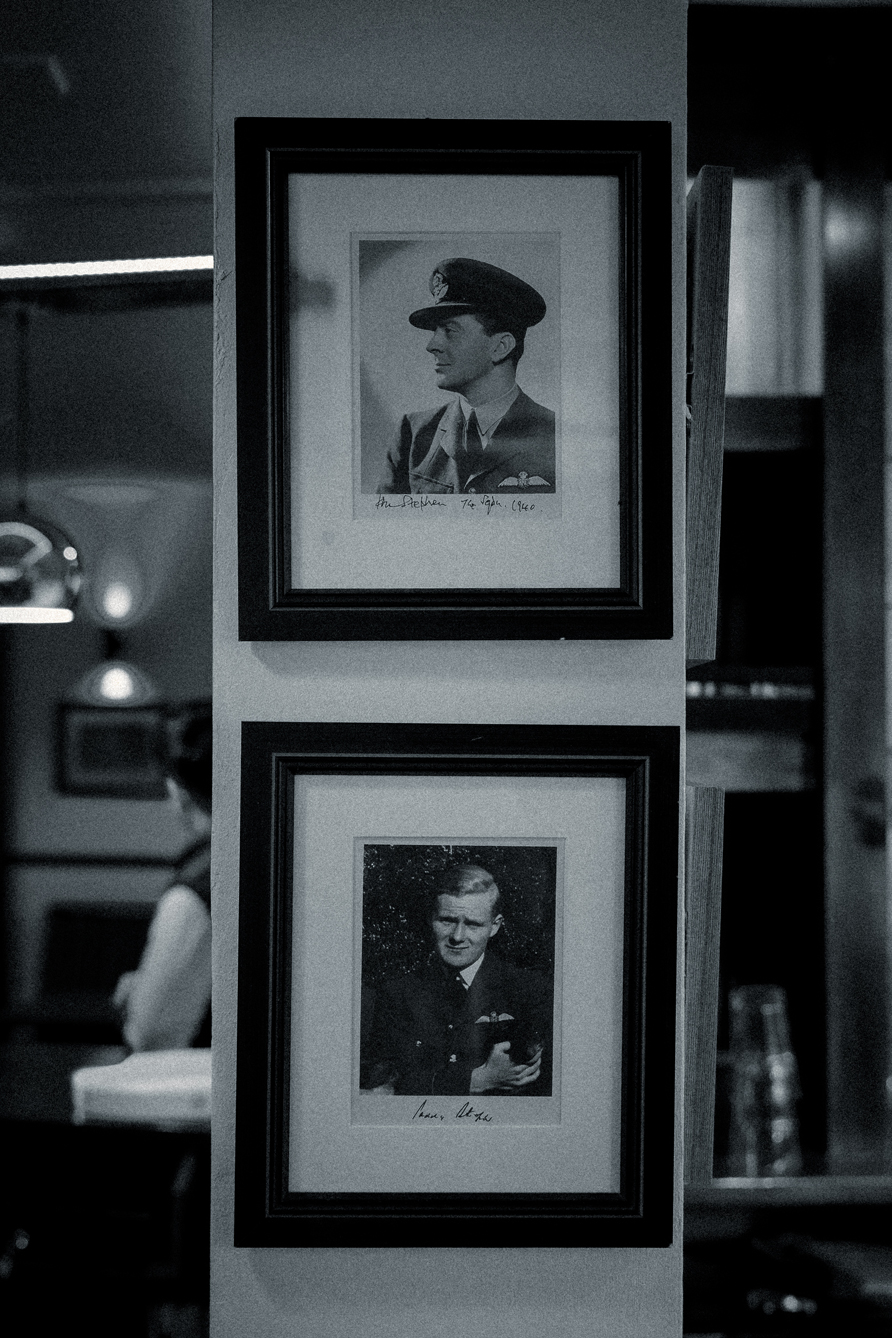
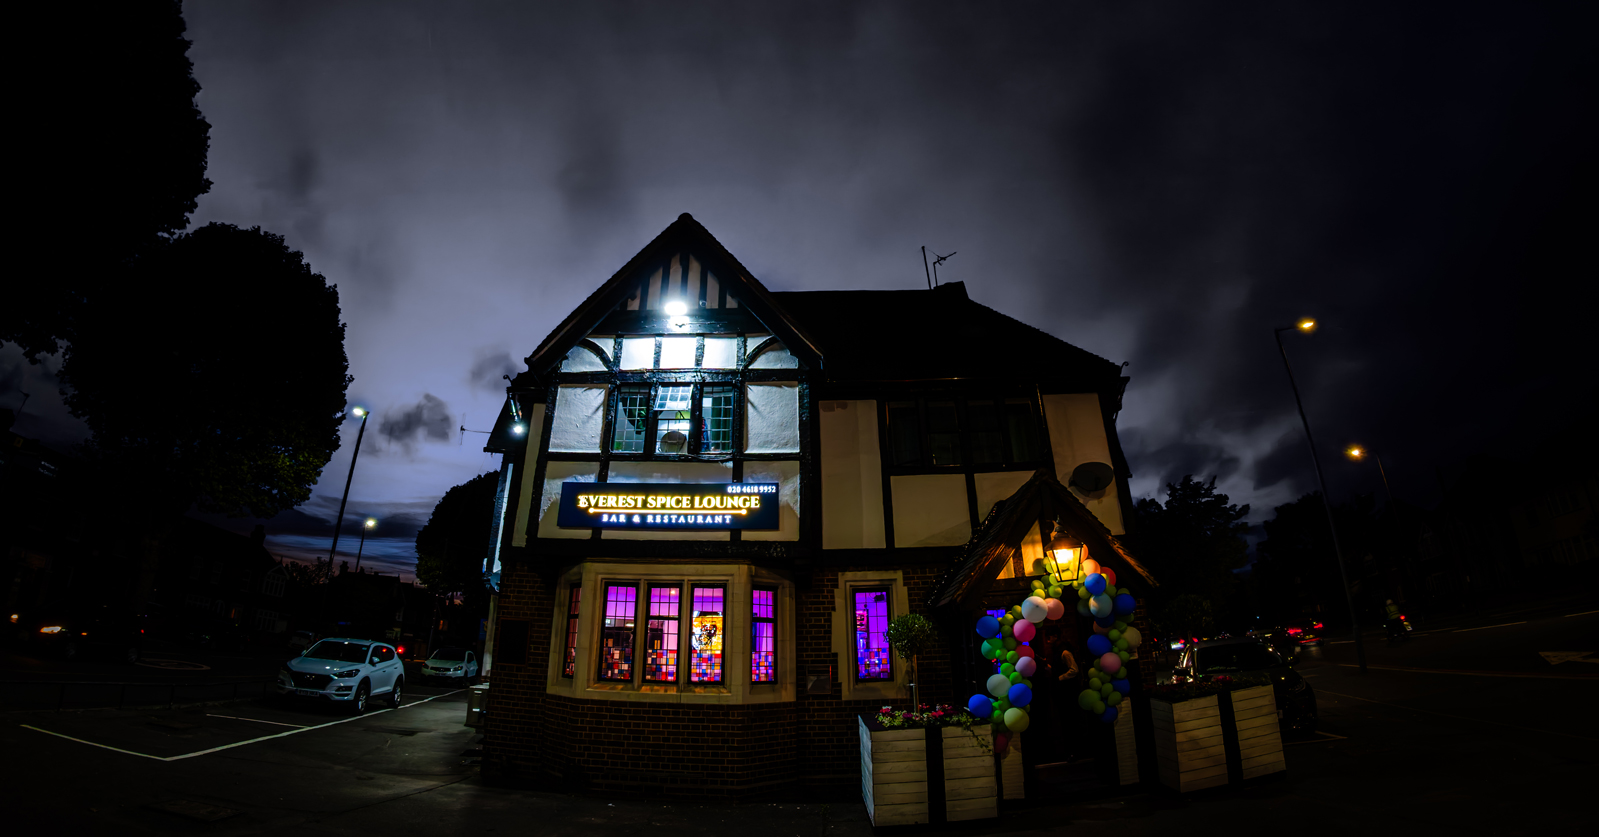
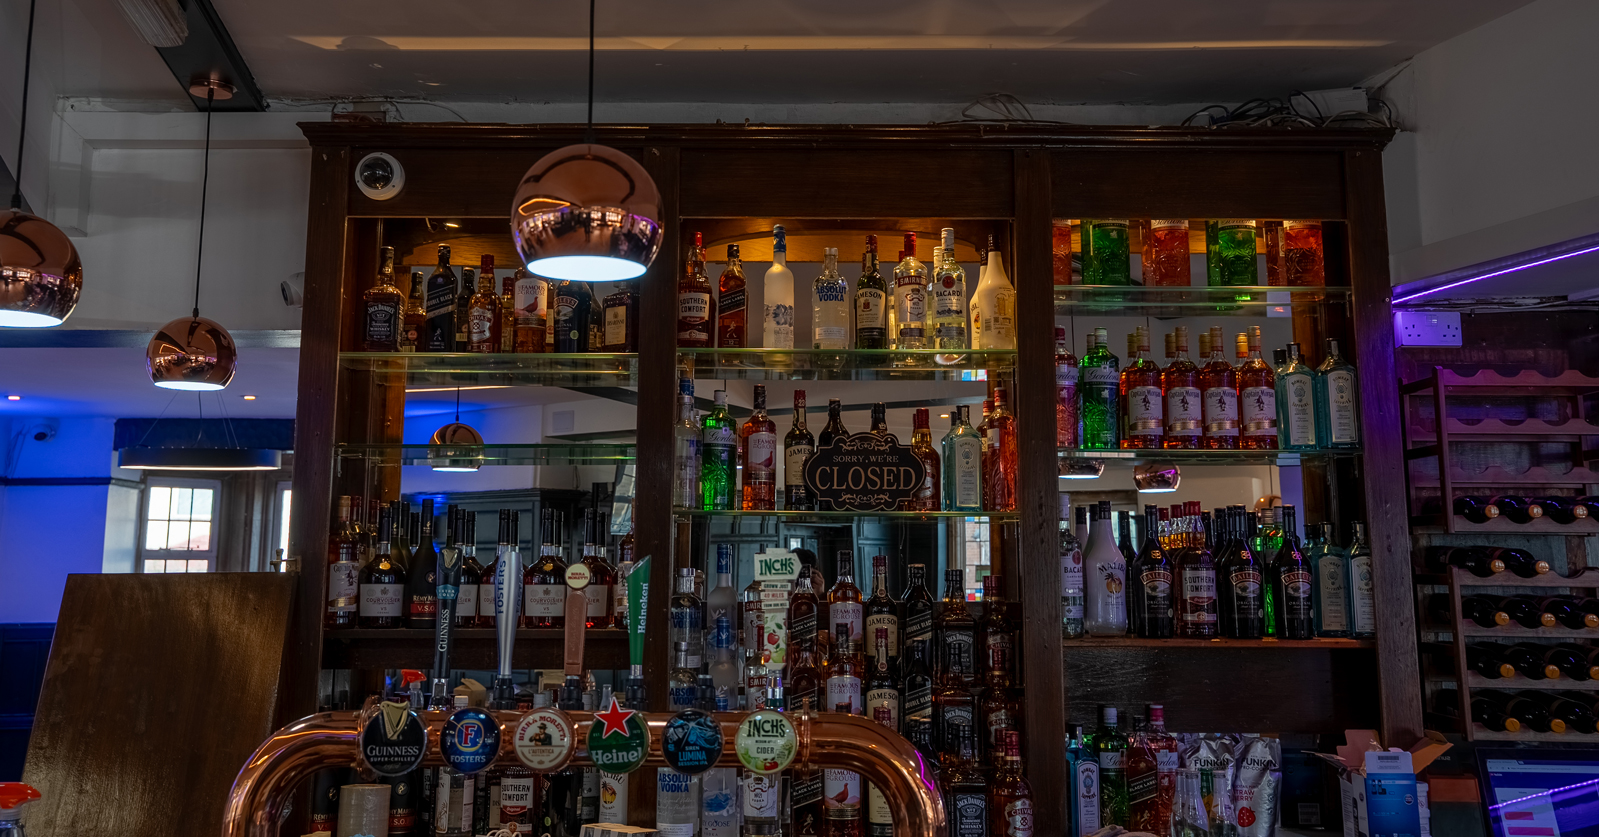
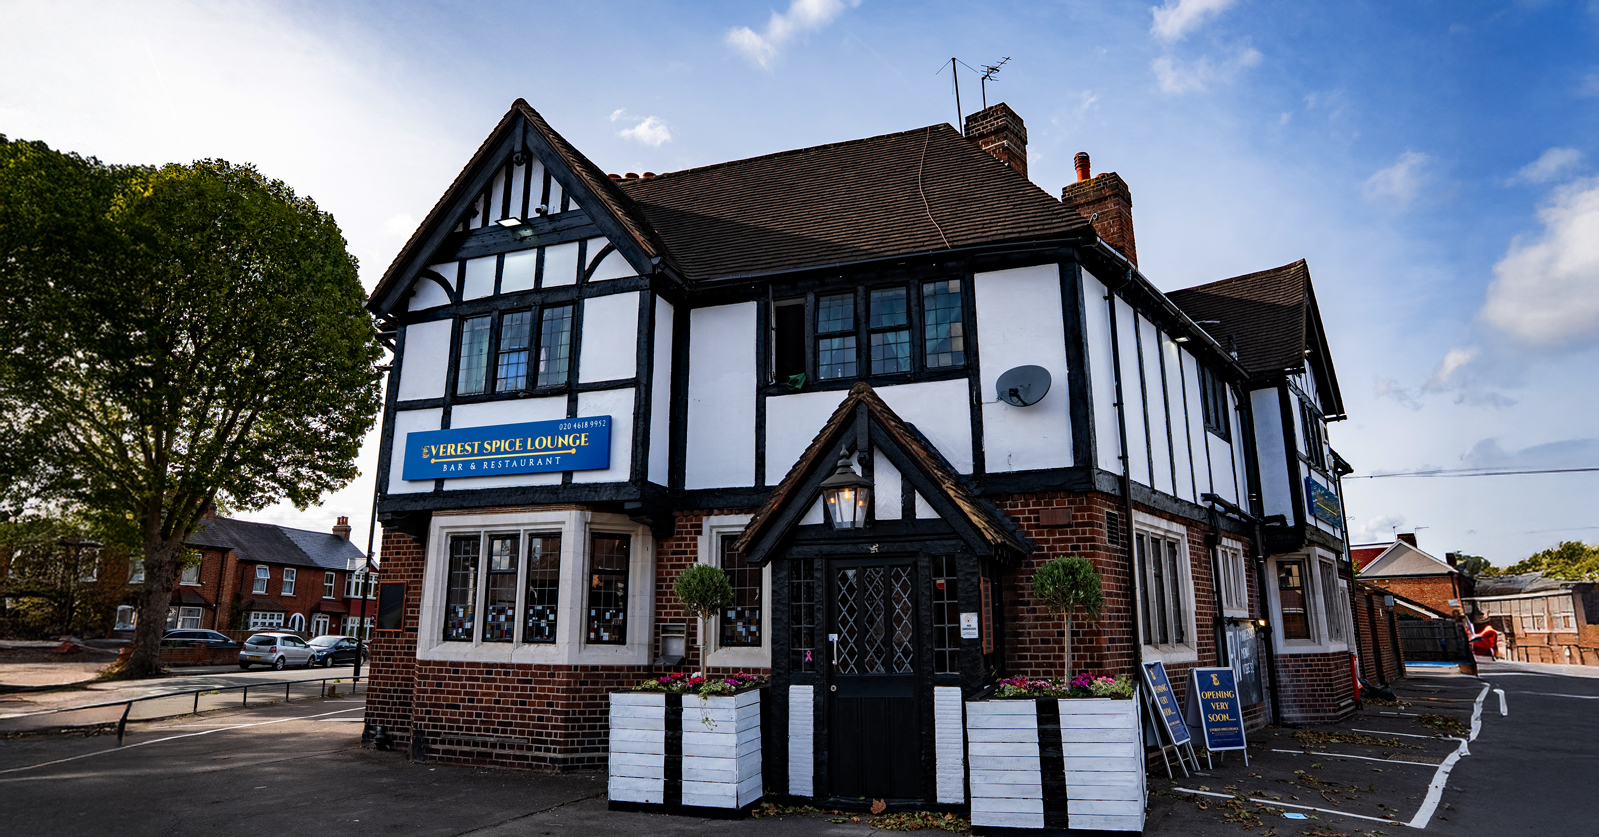
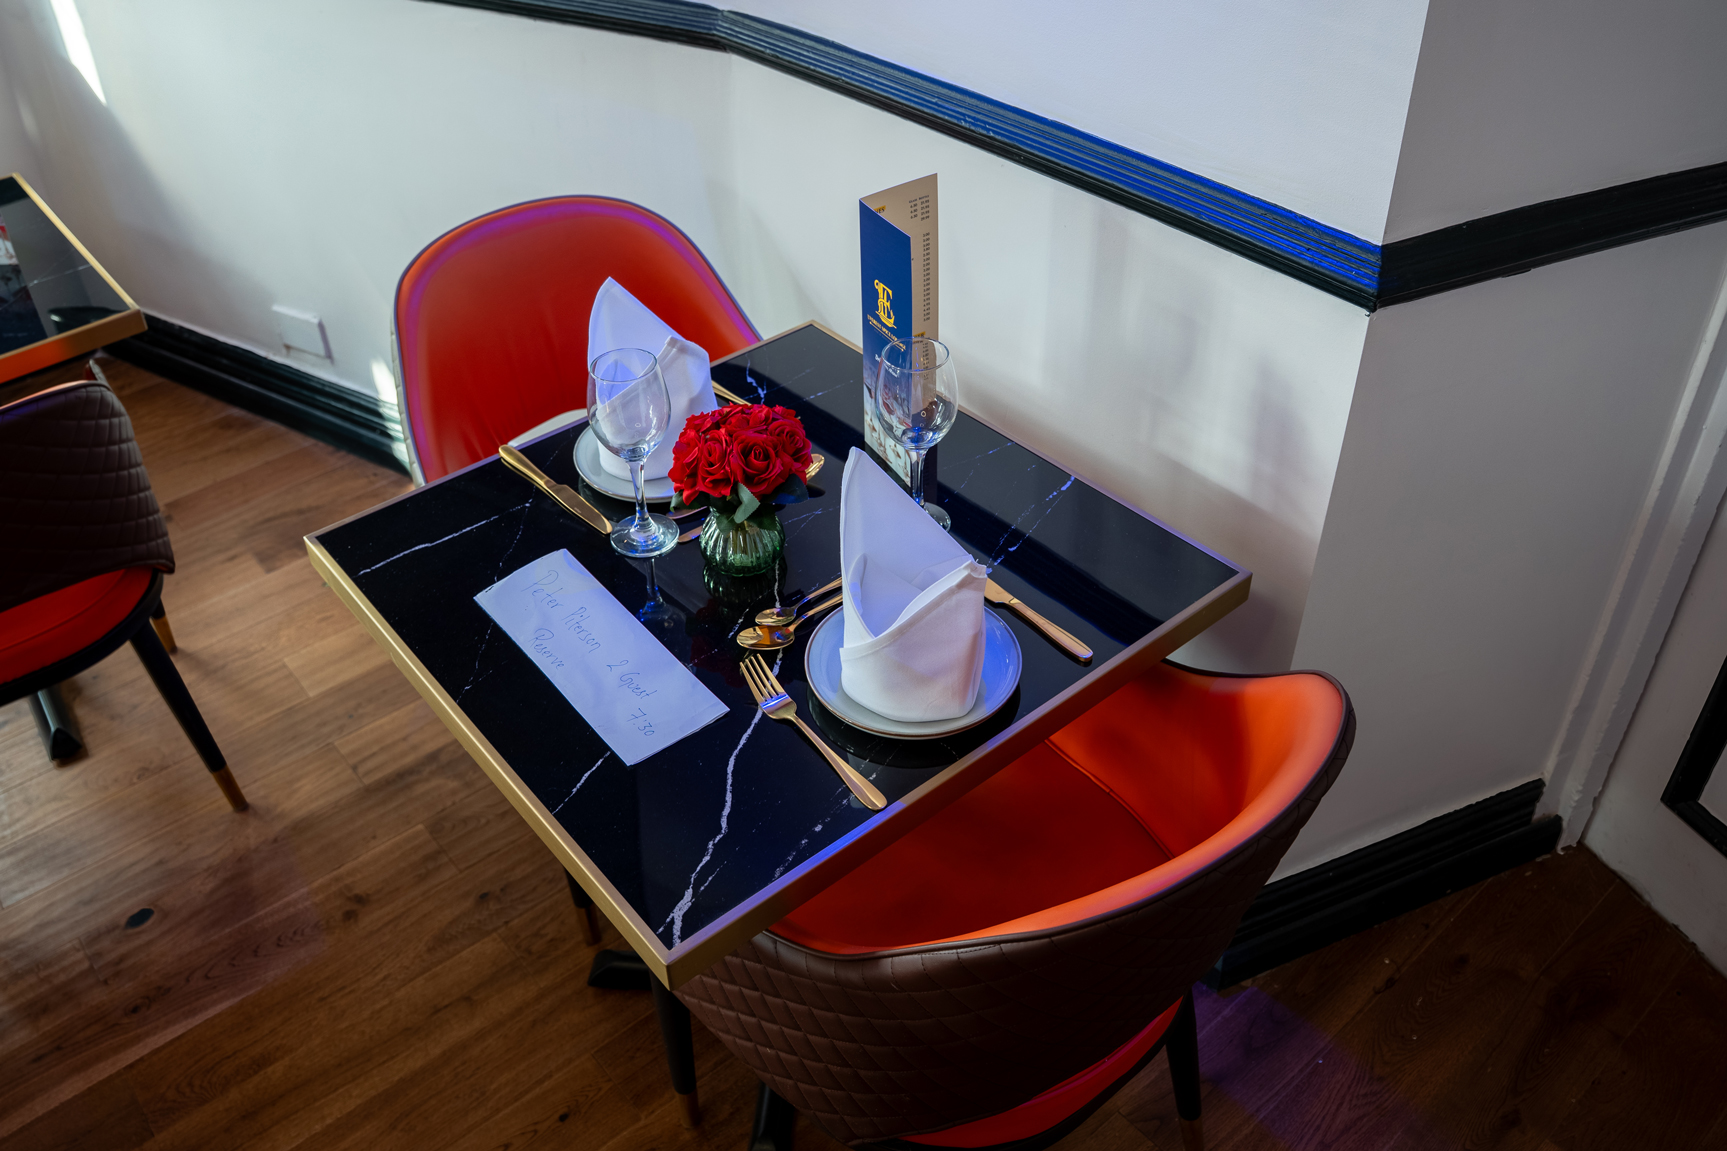
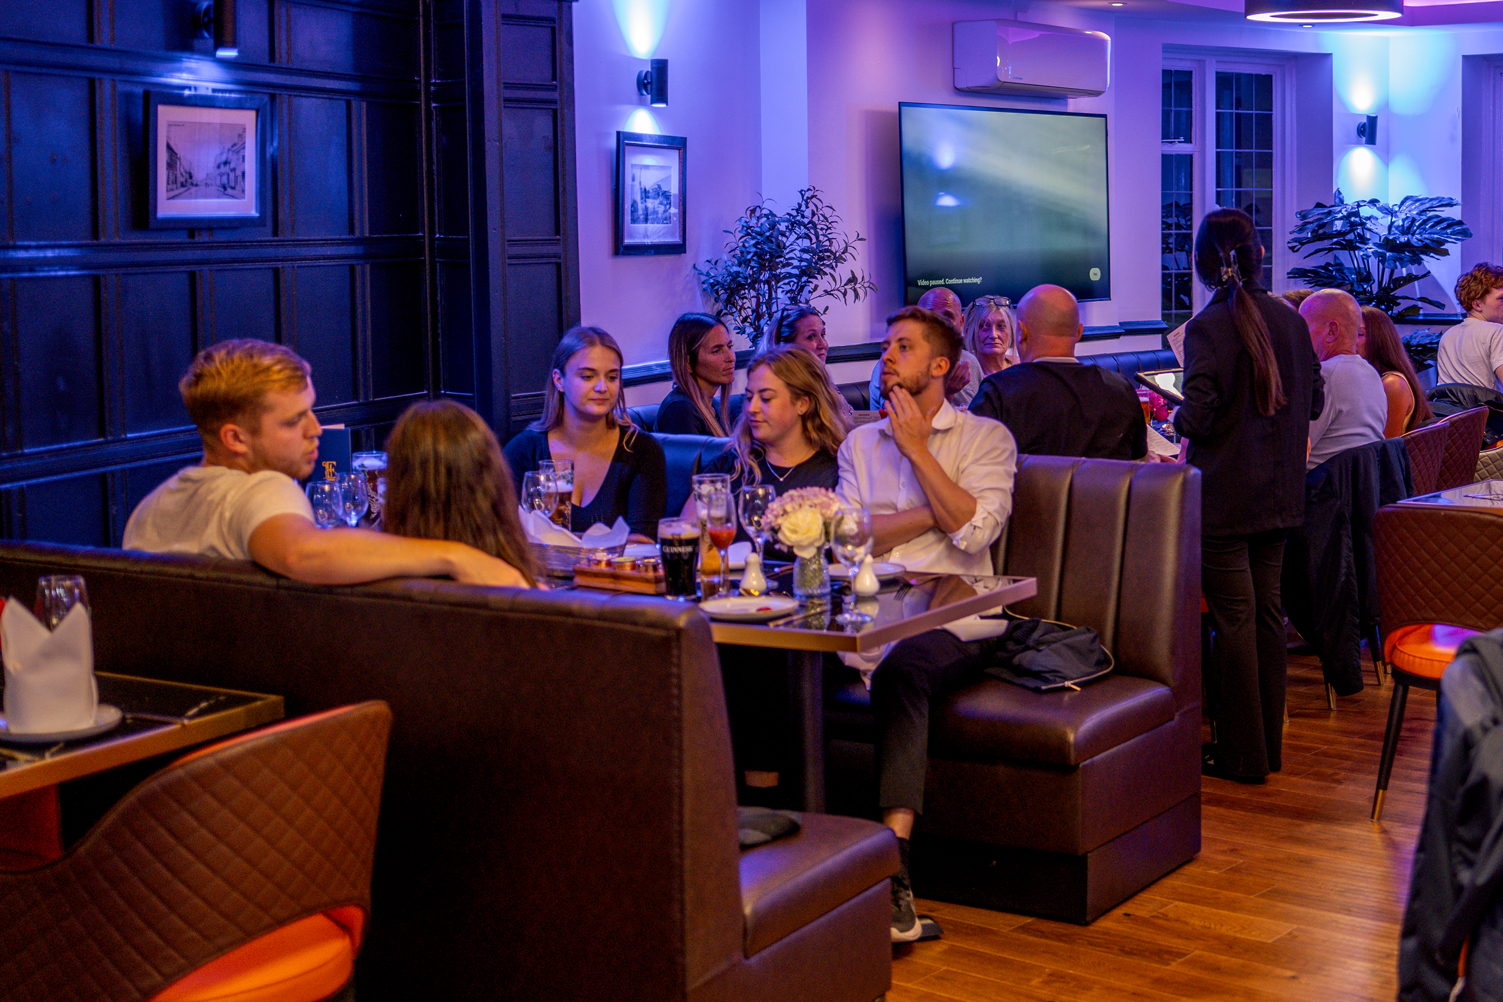
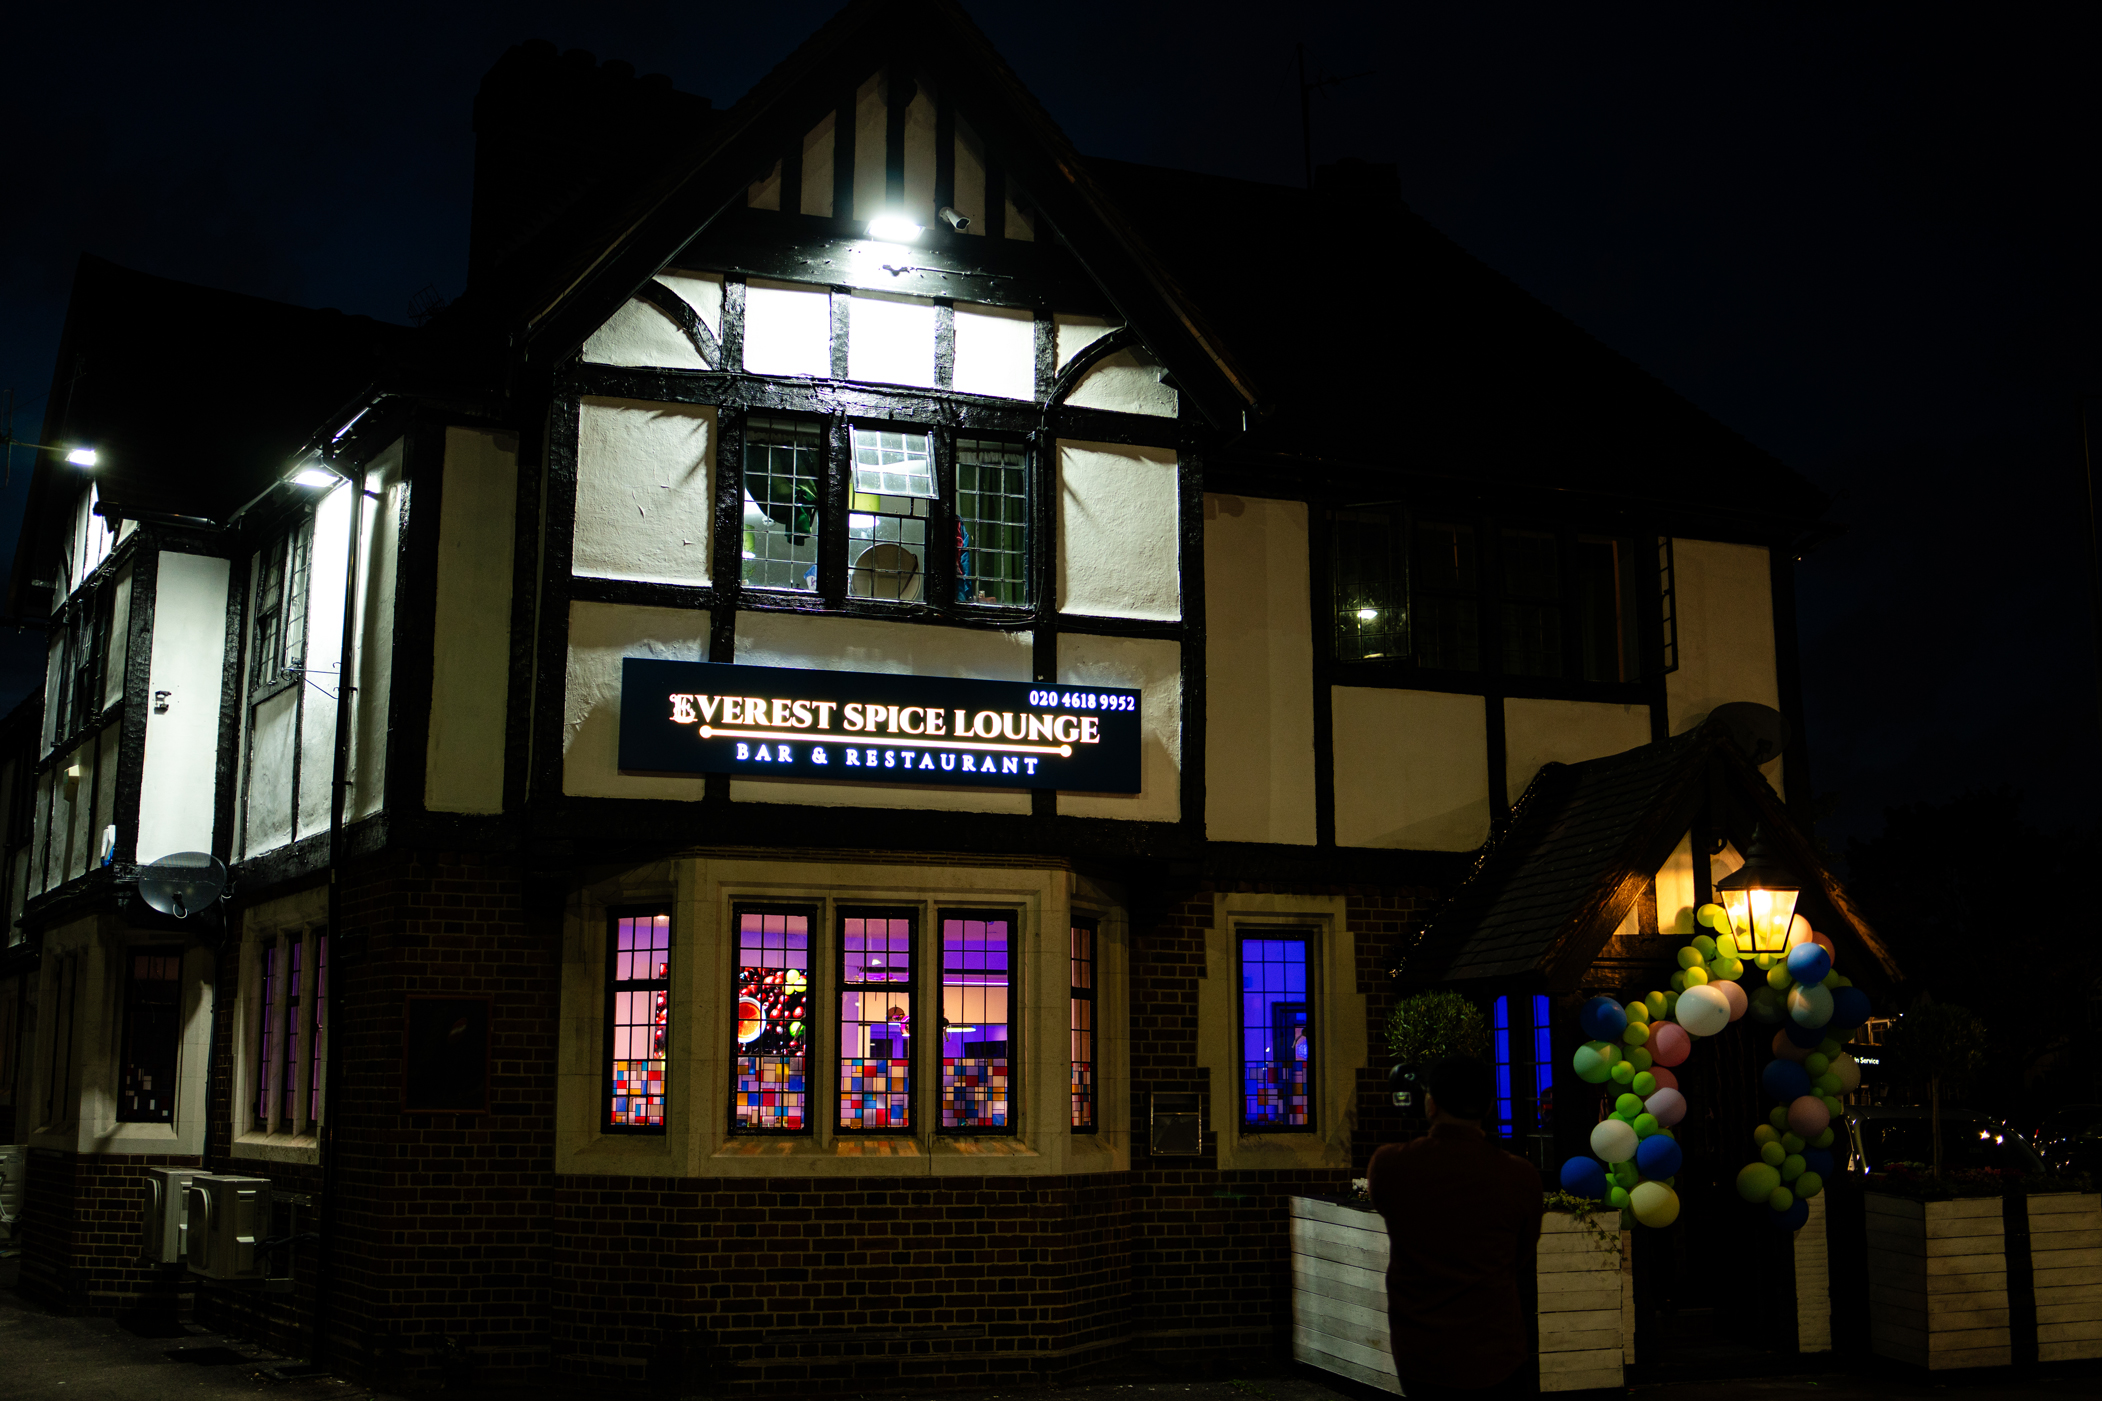
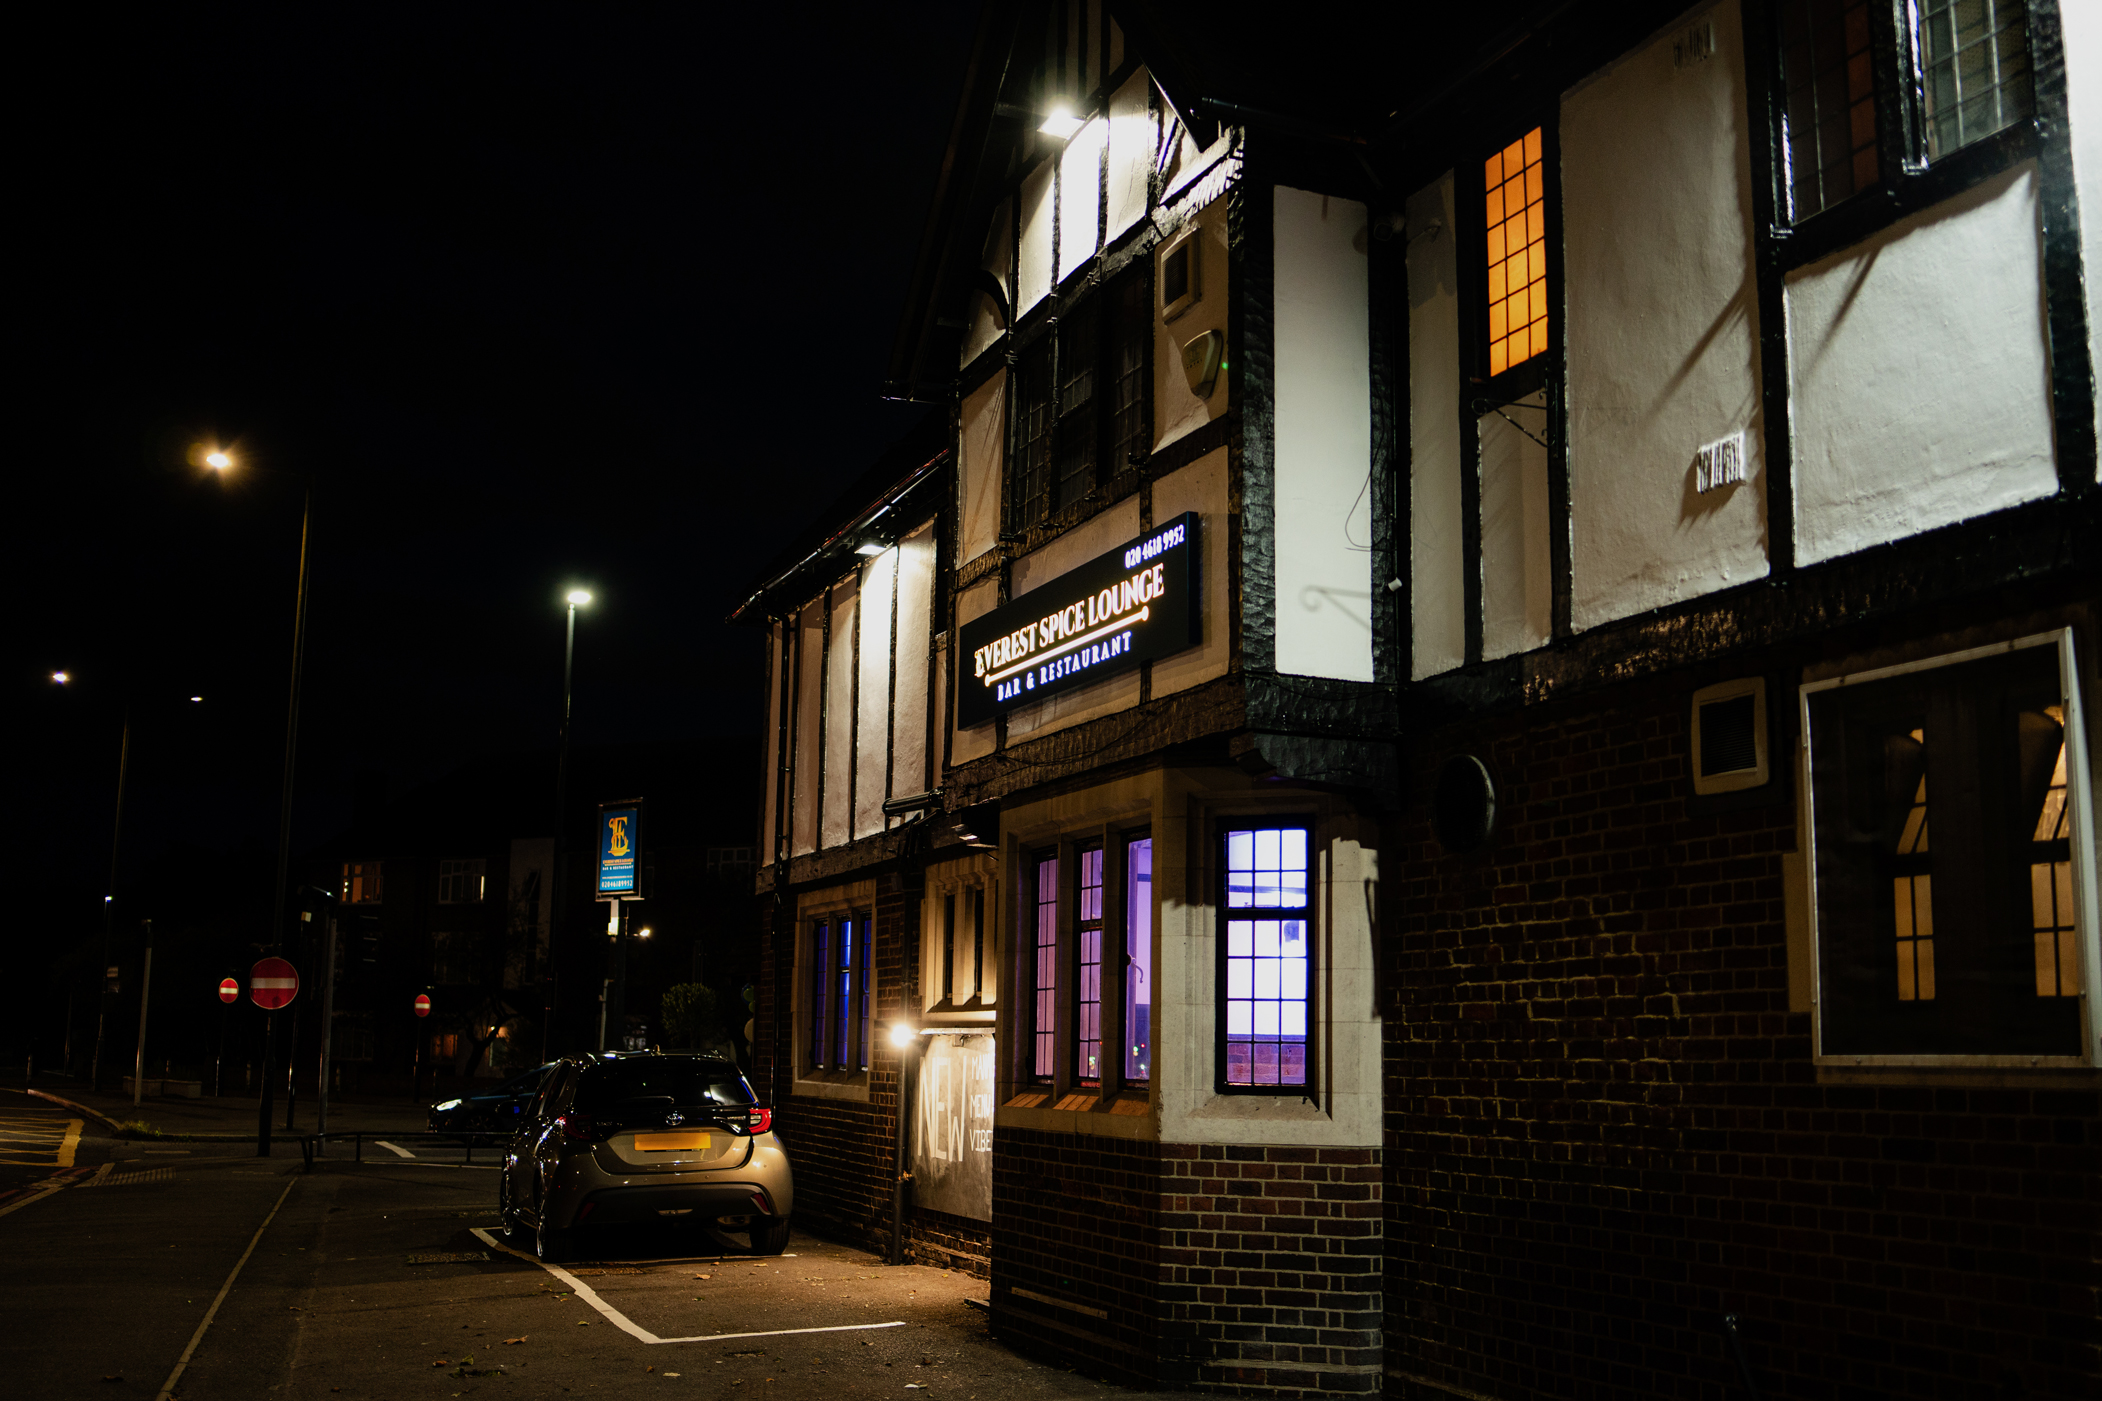
Our Story in Pictures
Book a Table